Installing wall sconces can transform your living space, providing both functionality and elegance. This guide simplifies the process for beginners, detailing essential tools and steps to ensure a seamless installation. Whether you want to brighten a hallway or enhance a bathroom, we’ll walk you through everything from wiring to mounting, making your DIY project not just manageable, but enjoyable. Let’s illuminate your home with style!
Overview of Wall Sconce Installation
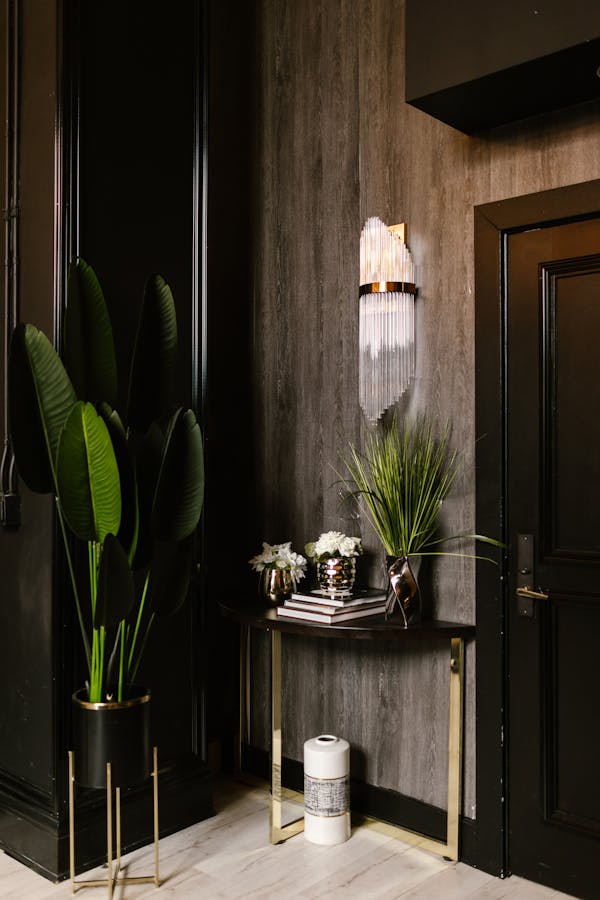
Wall sconces have become an indispensable element in both home decor and functional lighting. With their ability to enhance narrow spaces, like hallways and bathrooms, while serving as decorative wall accents, they add depth and dimension to any room. For homeowners eager to embark on a step-by-step wall sconce installation, this guide simplifies the process, making it manageable even for beginners. For a detailed overview of options, including stylish designs, click here.
A lire en complément : How do you design an energy-efficient lighting plan for a UK cottage?
Essential Considerations Before You Begin
Before diving into the installation, assess key factors to ensure success:
- Location matters: Decide where the sconces will go to optimize lighting and avoid shadows. For instance, mounting sconces beside a mirror or along a hallway can enhance visibility and aesthetics.
- Height guidelines: Maintain consistent placement—standard recommendations suggest about 65 inches from the floor in living areas. Adjust based on the specific room layout.
- Electrical setup: Verify whether existing wiring is present or if you’ll run new cables, as this influences tool and material requirements.
Careful planning ensures a seamless installation process tailored to any home layout.
A découvrir également : Sailing in style: transformative yacht interior design ideas
Preparation for Wall Sconce Installation
Essential Tools and Materials
Before diving into how to install a wall sconce, having the right equipment is critical for both efficiency and safety. Key tools include a voltage tester to verify power disconnection, a utility knife for precision wall cutting, and a drywall saw for creating openings. For wiring, wire strippers, lineman’s pliers, and long-nose pliers are indispensable. Materials like fish tape, ceiling boxes with clamps, wire nuts, and electrician’s tape ensure proper assembly and secure connections. If tackling a plug-in wall sconce project, ensure no hardwiring tools are necessary.
Planning the Sconce Locations
Placement is paramount when installing wall sconces, as their height and spacing directly impact both functionality and aesthetics. When choosing wall sconce locations, consider purpose: bedside sconces typically sit 5 feet above the ground, while hallway installations require approximately 6 feet of spacing. Bathroom setups near mirrors should prioritize reducing shadows. Map out positions carefully, marking precise spots for optimal lighting.
Safety Precautions During Installation
Turn off electricity at the circuit breaker and verify with a voltage tester before handling wires. Use insulated tools, especially when connecting components. Properly grounding the sconce, as shown in most wall sconce wiring methods, protects against electrical hazards. Never skip this step, even for simple projects like plug-in sconces.
Step-by-Step Wall Sconce Installation Process
Running Electrical Cables
Begin by selecting the most suitable position for the wall sconce light fixtures. Mark the area for the sconce, ensuring it aligns with your room’s lighting goals. Using a utility knife and a drywall saw, cut openings in the wall. These holes will guide the path for the electrical cables. Employ fish tape to pull wires through the wall cavities, connecting the power source to the designated switch. Always secure the cables firmly with clamps in the electrical box for a safe and reliable installation.
Wiring the Wall Sconce
To understand how to connect a wall sconce, first, identify the wires: white for neutral, black for hot, and green (or bare) for grounding. Splice the wires accordingly—white to white, black to black, and secure the ground wire to the grounding screw. Use wire nuts and electrician’s tape for secure connections. This process ensures adherence to wall sconce wiring methods for safe operation.
Mounting the Sconce and Final Touches
Securely attach the sconce to the wall, aligning it with the mounting hardware. Ensure the fixture is level before tightening the nuts. Conclude by installing a compatible bulb, turning on the power, and enjoying your new wall sconce installation!